| ASKING ALEXANDRIA In Houston Photo Gallery (25) |
 |
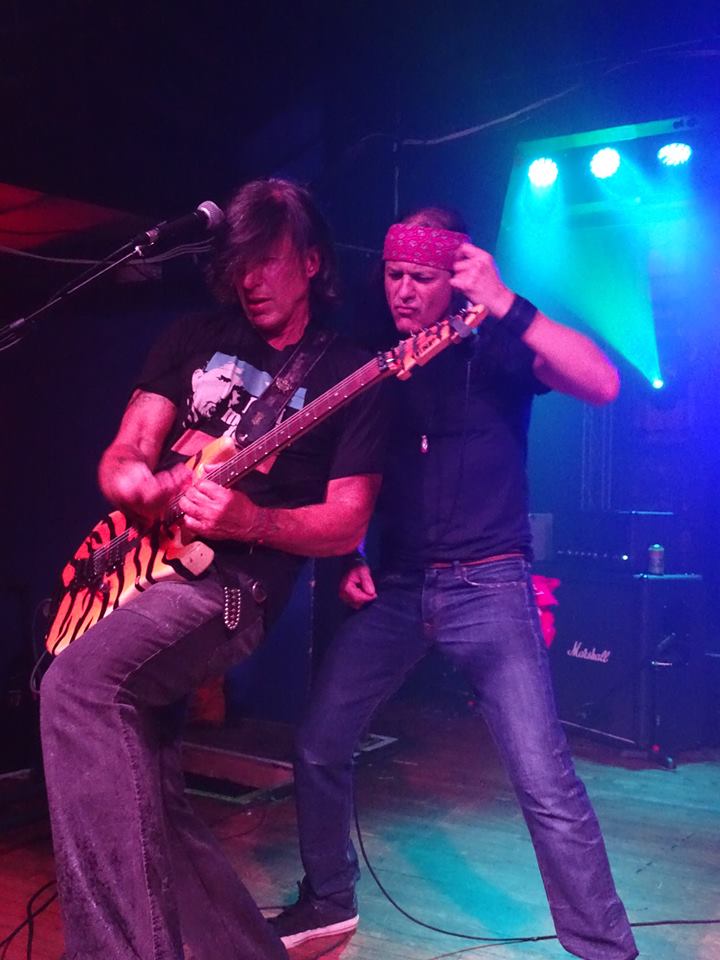
| ASKING ALEXANDRIA In Houston Photo Gallery (24) |
|
| ASKING ALEXANDRIA In Houston Photo Gallery (23) |
|
| ASKING ALEXANDRIA In Houston Photo Gallery (22) |
|
| ASKING ALEXANDRIA In Houston Photo Gallery (21) |
|
| ASKING ALEXANDRIA In Houston Photo Gallery (20) |
|
| ASKING ALEXANDRIA In Houston Photo Gallery (19) |
|
| ASKING ALEXANDRIA In Houston Photo Gallery (18) |
|
| ASKING ALEXANDRIA In Houston Photo Gallery (17) |
|
| ASKING ALEXANDRIA In Houston Photo Gallery (16) |
|
| ASKING ALEXANDRIA In Houston Photo Gallery (15) |
|
| ASKING ALEXANDRIA In Houston Photo Gallery (14) |
|
| ASKING ALEXANDRIA In Houston Photo Gallery (13) |
|
| ASKING ALEXANDRIA In Houston Photo Gallery (12) |
|
| ASKING ALEXANDRIA In Houston Photo Gallery (11) |
|
| ASKING ALEXANDRIA In Houston Photo Gallery (10) |
|
| ASKING ALEXANDRIA In Houston Photo Gallery (9) |
|
| ASKING ALEXANDRIA In Houston Photo Gallery (8) |
|
| ASKING ALEXANDRIA In Houston Photo Gallery (7) |
|
| ASKING ALEXANDRIA In Houston Photo Gallery (6) |
|
| ASKING ALEXANDRIA In Houston Photo Gallery (5) |
|
| ASKING ALEXANDRIA In Houston Photo Gallery (4) |
|
| ASKING ALEXANDRIA In Houston Photo Gallery (3) |
|
| ASKING ALEXANDRIA In Houston Photo Gallery (2) |
|
| ASKING ALEXANDRIA In Houston Photo Gallery (1) |
|
| RAVEN In West Hollywood Photo Gallery (30) |
|
| RAVEN In West Hollywood Photo Gallery (29) |
|
| RAVEN In West Hollywood Photo Gallery (28) |
|
| RAVEN In West Hollywood Photo Gallery (27) |
|
| RAVEN In West Hollywood Photo Gallery (26) |
|
| RAVEN In West Hollywood Photo Gallery (25) |
|
| RAVEN In West Hollywood Photo Gallery (24) |
|
| RAVEN In West Hollywood Photo Gallery (23) |
|
| RAVEN In West Hollywood Photo Gallery (22) |
|
| RAVEN In West Hollywood Photo Gallery (21) |
|
| RAVEN In West Hollywood Photo Gallery (20) |
|
| RAVEN In West Hollywood Photo Gallery (19) |
|
| RAVEN In West Hollywood Photo Gallery (18) |
|
| RAVEN In West Hollywood Photo Gallery (17) |
|
| RAVEN In West Hollywood Photo Gallery (16) |
|
| RAVEN In West Hollywood Photo Gallery (15) |
|
| RAVEN In West Hollywood Photo Gallery (14) |
|
| RAVEN In West Hollywood Photo Gallery (13) |
|
| RAVEN In West Hollywood Photo Gallery (12) |
|
| RAVEN In West Hollywood Photo Gallery (11) |
|
| RAVEN In West Hollywood Photo Gallery (10) |
|
| RAVEN In West Hollywood Photo Gallery (9) |
|
| RAVEN In West Hollywood Photo Gallery (8) |
|
| RAVEN In West Hollywood Photo Gallery (7) |
|
| RAVEN In West Hollywood Photo Gallery (6) |
|
| RAVEN In West Hollywood Photo Gallery (5) |
|
| RAVEN In West Hollywood Photo Gallery (4) |
|
| RAVEN In West Hollywood Photo Gallery (3) |
|
| RAVEN In West Hollywood Photo Gallery (2) |
|
| RAVEN In West Hollywood Photo Gallery (1) |
|
| HELL'S HEROES VI Festival Photo Gallery (45) |
|
| HELL'S HEROES VI Festival Photo Gallery (44) |
|
| HELL'S HEROES VI Festival Photo Gallery (43) |
|
| HELL'S HEROES VI Festival Photo Gallery (42) |
|
| HELL'S HEROES VI Festival Photo Gallery (41) |
|
| HELL'S HEROES VI Festival Photo Gallery (40) |
|
| HELL'S HEROES VI Festival Photo Gallery (39) |
|
| HELL'S HEROES VI Festival Photo Gallery (38) |
|
| HELL'S HEROES VI Festival Photo Gallery (37) |
|
| HELL'S HEROES VI Festival Photo Gallery (36) |
|
| HELL'S HEROES VI Festival Photo Gallery (35) |
|
| HELL'S HEROES VI Festival Photo Gallery (34) |
|
| HELL'S HEROES VI Festival Photo Gallery (33) |
|
| HELL'S HEROES VI Festival Photo Gallery (32) |
|
| HELL'S HEROES VI Festival Photo Gallery (31) |
|
| HELL'S HEROES VI Festival Photo Gallery (30) |
|
| HELL'S HEROES VI Festival Photo Gallery (29) |
|
| HELL'S HEROES VI Festival Photo Gallery (28) |
|
| HELL'S HEROES VI Festival Photo Gallery (27) |
|
| HELL'S HEROES VI Festival Photo Gallery (26) |
|
| HELL'S HEROES VI Festival Photo Gallery (25) |
|
| HELL'S HEROES VI Festival Photo Gallery (24) |
|
| HELL'S HEROES VI Festival Photo Gallery (23) |
|
| HELL'S HEROES VI Festival Photo Gallery (22) |
|
| HELL'S HEROES VI Festival Photo Gallery (21) |
|
| HELL'S HEROES VI Festival Photo Gallery (20) |
|
| HELL'S HEROES VI Festival Photo Gallery (19) |
|
| HELL'S HEROES VI Festival Photo Gallery (18) |
|
| HELL'S HEROES VI Festival Photo Gallery (17) |
|
| HELL'S HEROES VI Festival Photo Gallery (16) |
|
| HELL'S HEROES VI Festival Photo Gallery (15) |
|
| HELL'S HEROES VI Festival Photo Gallery (14) |
|
| HELL'S HEROES VI Festival Photo Gallery (13) |
|
| HELL'S HEROES VI Festival Photo Gallery (12) |
|
| HELL'S HEROES VI Festival Photo Gallery (11) |
|
| HELL'S HEROES VI Festival Photo Gallery (10) |
|
| HELL'S HEROES VI Festival Photo Gallery (9) |
|
| HELL'S HEROES VI Festival Photo Gallery (8) |
|
| HELL'S HEROES VI Festival Photo Gallery (7) |
|
| HELL'S HEROES VI Festival Photo Gallery (6) |
|
| HELL'S HEROES VI Festival Photo Gallery (5) |
|
| HELL'S HEROES VI Festival Photo Gallery (4) |
|
| HELL'S HEROES VI Festival Photo Gallery (3) |
|
| HELL'S HEROES VI Festival Photo Gallery (2) |
|
| HELL'S HEROES VI Festival Photo Gallery (1) |
|
| DETHKLOK In Myrtle Beach Photo Gallery (10) |
|
| DETHKLOK In Myrtle Beach Photo Gallery (9) |
|
| DETHKLOK In Myrtle Beach Photo Gallery (8) |
|
| DETHKLOK In Myrtle Beach Photo Gallery (7) |
|
| DETHKLOK In Myrtle Beach Photo Gallery (6) |
|
| DETHKLOK In Myrtle Beach Photo Gallery (5) |
|
| DETHKLOK In Myrtle Beach Photo Gallery (4) |
|
| DETHKLOK In Myrtle Beach Photo Gallery (3) |
|
| DETHKLOK In Myrtle Beach Photo Gallery (2) |
|
| DETHKLOK In Myrtle Beach Photo Gallery (1) |
|
| BETWEEN THE BURIED AND ME Photo Gallery (25) |
|
| BETWEEN THE BURIED AND ME Photo Gallery (24) |
|
| BETWEEN THE BURIED AND ME Photo Gallery (23) |
|
| BETWEEN THE BURIED AND ME Photo Gallery (22) |
|
| BETWEEN THE BURIED AND ME Photo Gallery (21) |
|
| BETWEEN THE BURIED AND ME Photo Gallery (20) |
|
| BETWEEN THE BURIED AND ME Photo Gallery (19) |
|
| BETWEEN THE BURIED AND ME Photo Gallery (18) |
|
| BETWEEN THE BURIED AND ME Photo Gallery (17) |
|
| BETWEEN THE BURIED AND ME Photo Gallery (16) |
|
| BETWEEN THE BURIED AND ME Photo Gallery (15) |
|
| BETWEEN THE BURIED AND ME Photo Gallery (14) |
|
| BETWEEN THE BURIED AND ME Photo Gallery (13) |
|
| BETWEEN THE BURIED AND ME Photo Gallery (12) |
|
| BETWEEN THE BURIED AND ME Photo Gallery (11) |
|
| BETWEEN THE BURIED AND ME Photo Gallery (10) |
|
| BETWEEN THE BURIED AND ME Photo Gallery (9) |
|
| BETWEEN THE BURIED AND ME Photo Gallery (8) |
|
| BETWEEN THE BURIED AND ME Photo Gallery (7) |
|
| BETWEEN THE BURIED AND ME Photo Gallery (6) |
|
| BETWEEN THE BURIED AND ME Photo Gallery (5) |
|
| BETWEEN THE BURIED AND ME Photo Gallery (4) |
|
| BETWEEN THE BURIED AND ME Photo Gallery (3) |
|
| BETWEEN THE BURIED AND ME Photo Gallery (2) |
|
| BETWEEN THE BURIED AND ME Photo Gallery (1) |
|
| HAIL THE SUN, INTERVALS Boston Photo Gallery (20) |
|
| HAIL THE SUN, INTERVALS Boston Photo Gallery (19) |
|
| HAIL THE SUN, INTERVALS Boston Photo Gallery (18) |
|
| HAIL THE SUN, INTERVALS Boston Photo Gallery (17) |
|
| HAIL THE SUN, INTERVALS Boston Photo Gallery (16) |
|
| HAIL THE SUN, INTERVALS Boston Photo Gallery (15) |
|
| HAIL THE SUN, INTERVALS Boston Photo Gallery (14) |
|
| HAIL THE SUN, INTERVALS Boston Photo Gallery (13) |
|
| HAIL THE SUN, INTERVALS Boston Photo Gallery (12) |
|
| HAIL THE SUN, INTERVALS Boston Photo Gallery (11) |
|
| HAIL THE SUN, INTERVALS Boston Photo Gallery (10) |
|
| HAIL THE SUN, INTERVALS Boston Photo Gallery (9) |
|
| HAIL THE SUN, INTERVALS Boston Photo Gallery (8) |
|
| HAIL THE SUN, INTERVALS Boston Photo Gallery (7) |
|
| HAIL THE SUN, INTERVALS Boston Photo Gallery (6) |
|
| HAIL THE SUN, INTERVALS Boston Photo Gallery (5) |
|
| HAIL THE SUN, INTERVALS Boston Photo Gallery (4) |
|
| HAIL THE SUN, INTERVALS Boston Photo Gallery (3) |
|
| HAIL THE SUN, INTERVALS Boston Photo Gallery (2) |
|
| HAIL THE SUN, INTERVALS Boston Photo Gallery (1) |